SWIMMING POOL WATER CARE & TROUBLESHOOTING
- New Pool - Start Up Instructions
- How To Add Chemicals
- Water Test
- Clear Blue Ionizer
- Frog Products
- Pristine Blue
- Salt System
- Pool Terminology Guide
- Pool Leak vs. Evaporation
- Frequently Asked Questions

Congratulations! Your swimming pool is installed, now what? We know that those kids are constantly asking, "can we swim yet?" but there are a few things you need to consider before jumping in!
Starting Up Your Pool
- Fill the pool with water. No one should enter the pool until the water level is at the half way mark on the skimmer.
- Place your pool steps or ladder into the pool.
- Once your electrical has been hooked up, turn your pump on and run your filter system.
- Your pool is now circulating water!
- Depending on which sanitation method you chose to go with you will need to add a chemical to the water. (Pristine Blue, add Check; for Chlorine, Salt, Ionizer, or Frog you will need to add shock.)
- Bring us a water sample to balance your alkalinity, pH, and calcium levels.
- Water chemistry is important to keep your pool crystal clear and safe.
How To Add Chemicals
There are two ways to add chemicals. It is VERY IMPORTANT that you read the instructions on the label to determine if the chemicals must be Diluted or Broadcast into the pool.
If the instructions call for the chemicals to be DILUTED, follow these instructions:
- Fill a bucket (2-5 gallons) 1/2-3/4 full of water.
- Pour the required amount of chemicals into the bucket of water.
****NEVER ADD WATER TO A CHEMICAL. RATHER ADD THE CHEMICAL TO THE WATER.****
- Stir the mixture to dilute the granules or liquid.
- Walk around the pool and add the mixture to random areas. Some chemicals may state an exact area where the chemicals should be added such as in front of the return jet.
- Once finished, rinse out the bucket.
- Store chemicals in a dry clean area.
- Always clean any chemical residue off the top ledges of a swimming pool.
If the instructions call for the chemicals to be BROADCAST, follow these instructions:
- Open the package/container.
- Reach over the pool wall, get close to the surface of the water, and pour in the chemical.
- Store chemicals in a dry clean area.
Water Test
Getting a water test is free and easy! Using a small container such as a water bottle, take a water sample from your pool. You will want to collect a sample away from the skimmer and return jet. Bring the sample into our showroom and we will give you a step by step guide to crystal clear water!
Do you have a green swampy pool? No problem! We do not recommend you drain your pool.
An above-ground pool or inground pool should never be fully drained. Without water, the structure of your pool will be weakened, the vinyl liner will shrink, create wrinkles, or in rare instances, inground pools may rise or pop out of the ground. If you have a green pool, you don't need to drain your pool to get it clear. We have easy to follow instructions to take your pool from Green to Clean. Come in to our store, and we will be glad to assist you.
We have a step by step guide to get your pool from green to clean without draining your pool!

Water: The Next Generation
First, there was chlorine. Then came salt. Now, there is minerals.
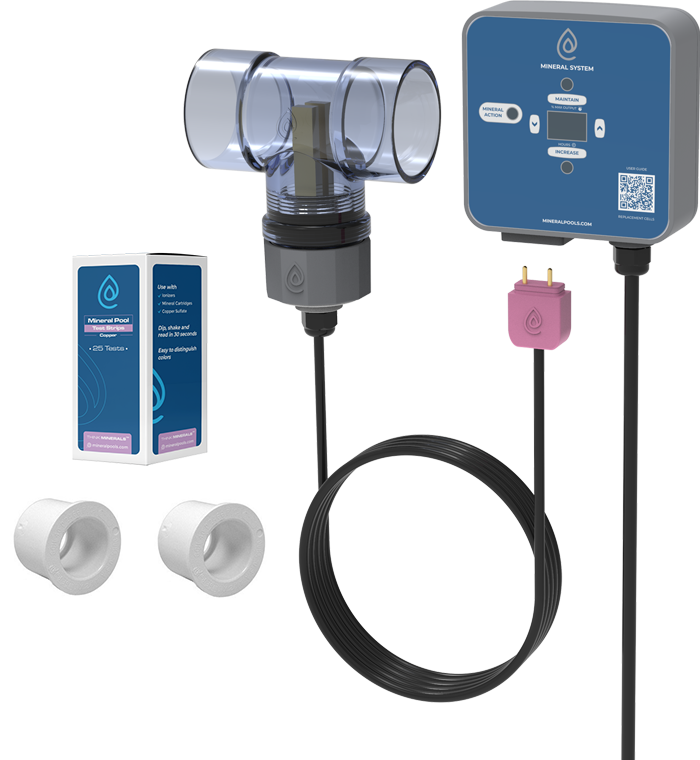
WHAT DOES IT DO?
Clear Blue releases microscopic mineral ions that help control bacteria and algae in pools and hot tubs. This allows you to reduce chemical usage by 50-80%
Mineral pools have less chlorine than either salt or traditional chlorine pools. This means fresh smelling water that doesn't dry your skin or fade your swimsuits.
The Clear Blue mineral system costs less than most other sanitizing systems. It also reduces the ongoing costs of maintaining a pool or spa.
Clear Blue does most of the water care work for you. Pool equipment, surfaces and landscaping stay new longer.
Spend less time fighting algae and balancing water and more time swimming and soaking.
HOW DOES IT WORK?
The Clear Blue tee is plumbed into your pool system. The mineral cell is screwed into the tee and plugged into the Clear Blue controller. Minerals are released from the cell into the water according to the settings on the controller. The minerals build up in the water and prevent algae, bacteria and viruses from growing.
How To Install Clear Blue Ionizer Above Ground
How To Install Clear Blue Ionizer In Ground
Frog Products
People. Science. Innovation.
We’re King Technology.
A growing family of brands whose goal is to Enrich Lives Daily by making water care easy.
Only FROG® creates Fresh Mineral Water® sanitizing systems for swimming pools and hot tubs. Water is Cleaner, Clearer, Softer and Easier® to care for. Plus, FROG reduces chlorine use up to 50%*. Prefilled Pacs are easy-to-use for no mess, no guess and no stress water care. Patented and EPA registered FROG products are designed to make water care easy.
FROG Leap®
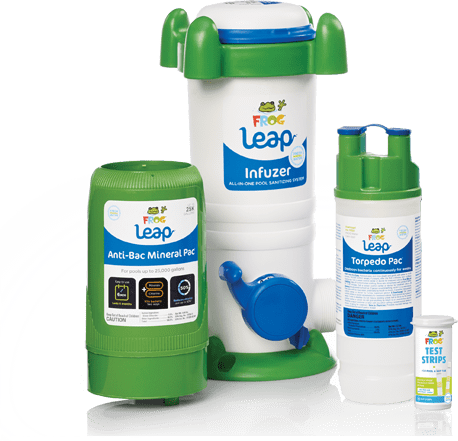
The easiest water care system is at your fingertips. And that’s where it stays – everything is prefilled for no mess, no guess, no stress water care. FROG Leap delivers a unique combination – it kills bacteria 2 ways with a low level of chlorine and sanitizing minerals. You use less chlorine, spend less time taking care of your water and have more time to enjoy it.
- Kills bacteria 2 ways
- Reduces chlorine use up to 50%*
- Precision performance – set it and forget it
STEP 1
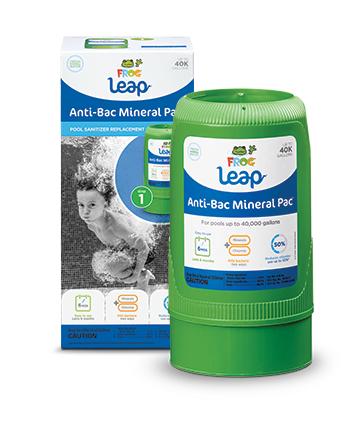
Anti-Bac Mineral Pac®
Fresh sanitizing minerals make chlorine last 2X longer
STEP 2
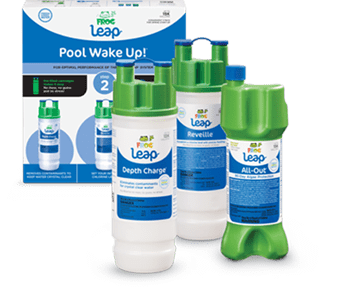
Pool Wake Up!®
& Pool Hibernation®
90-day algae protection guarantee
STEP 3
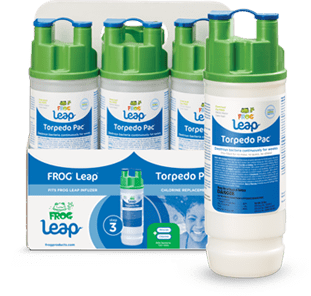
Torpedo Pac®
Prefilled for no mess, no guess and no stress
Flippin’ FROG®
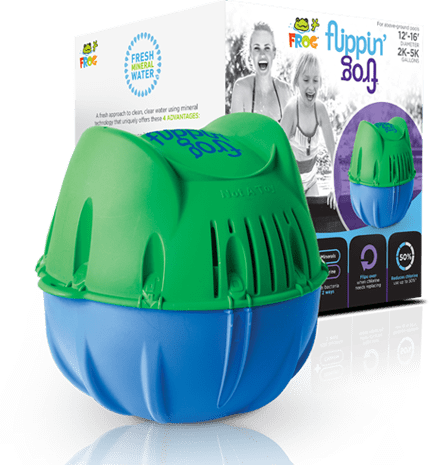
Flippin’ FROG®’s prefilled cartridges snap together and create Fresh Mineral Water in your pool. It kills bacteria 2 ways – with Fresh Minerals and a low level of chlorine. And flips upside down when it’s time to refill. Forget the mess, guess or stress, you’ll flip over Flippin’ FROG’s easy water care.
- Kills bacteria 2 ways
- Reduces chlorine use up to 50%*
- Precision performance – set it and forget it
STEP 1
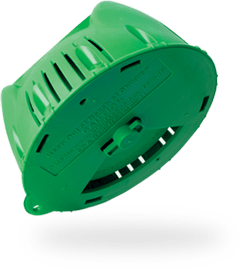
Mineral Cartridge
Last 6 months or 1 pool season (whichever is shorter)
Fresh sanitizing Minerals make chlorine last 2x longer.
STEP 2
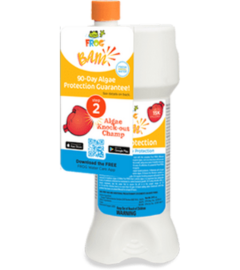
FROG BAM®
90-day algae protection
STEP 3
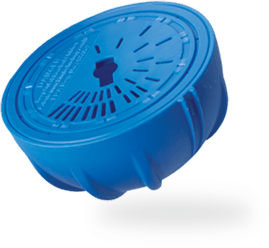
Chlorine Cartridge
Replace every
2-3 weeks throughout your swim season
Prefilled for no mess, no guess and no stress.
FROG® Pool Water Balancing Guide

Maintenance Cycle - Every 2 weeks
Before you begin: To avoid unnecessary waste of useful chemicals be sure to clean cartridge filter, backwash sand filter or bump D.E. filter according to your filter’s pressure gauge reading.
Ideally, when applying multiple chemicals, wait 15 minutes between each application. Apply chemicals at opposite ends of the pool, near a return inlet and away from the skimmer. If possible, add PristineExtra²® in the evening after the sunset, and other chemicals the next morning. This prevents sunlight dissipation and increases the effectiveness of PristineExtra²®. Always clean any chemical residue off the top ledges of a swimming pool.
PristineBlue®, PristineExtra²®, PristinePower®, PristineClear®, PristineClean® and EnzyPure™ may be added directly to pool water without mixing. DO NOT pour into skimmer. Always follow label instructions.
Step 1: Balance
1a. Test water balance parameters to insure they are in recommended ranges.
1b. Add chemicals, if necessary, to balance water to appropriate ranges below
- Total Alkalinity: 50 to 90 ppm
- pH: 7.2 to 7.6
- Calcium Hardness: 100 to 400 ppm
Step 2: Prep
2a. Shock with 1 pound of PristineExtra® per 10,000 gallons of pool water.
NOTE: You may need to add PristineExtra® as often as once a week or after: 1.) heavy bather load, 2.) excessive rain. See product label for complete instructions.
For cloudy water issues, PristinePower® can be used as needed according to label instructions.
2b: Add 2 ounces of PristineClean® per 10,000 gallons of pool water.
2c: Add 2 ounces of PristineClear® OR 4 ounces of EnzyPure per 10,000 gallons of pool water.
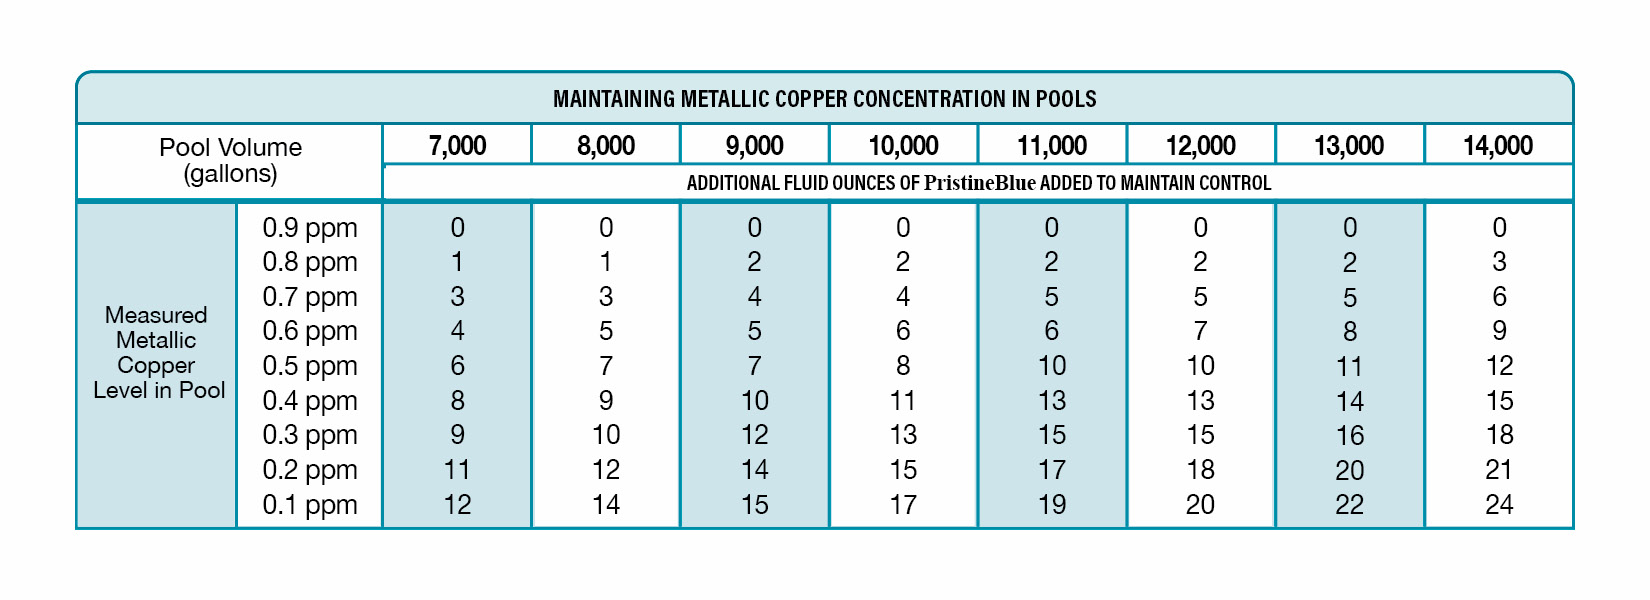
Step 3: Add PristineBlue
3a: Test the PristineBlue level of your pool.
3b: According to the Maintenance Dosage Chart at the bottom of this page, add the appropriate ounces of PristineBlue and relax!
Step 1: Balance
Balance water to the following ranges:
- Total Alkalinity: 50 to 90 ppm
- pH: 7.2 to 7.6
- Calcium Hardness: 100 to 400 ppm
NOTE: It is unlikely, but achieving optimal water balance may take several days. Be patient.
Step 2: PREP
2a: Add 2 ounces of PristineCheck per 1,000 gallons of pool water. Run filter for 6 hours.
2b: Add 1 pound of PristineExtra per 10,000 gallons of pool water. Continue running your filter pump for a minimum of 12 hours before proceeding.
2c: Backwash filter or clean cartridge thoroughly.
NOTE: If your pool was green prior to converting to PristineBlue you may have to add PristineExtra daily until water is clear.
Step 3: Add PristineBlue
SPRING OPENING/CURRENT USERS: Test the PristineBlue level and add PristineBlue according to the Maintenance Dosage Chart located below.
NEW USERS: Add 2 ounces of PristineBlue per 1,000 gallons of pool water.
IONIZER SYSTEM CONVERSION: Using copper test results in place of PristineBlue test results, add PristineBlue according to the Maintenance Dosage Chart.
REMINDER: Test periodically to insure pH is within the 7.2 to 7.6 range after start-up.
PRISTINE BLUE CARE GUIDE
Salt System
Pool Terminology Guide
- Filter Setting – this is the most common setting. Filter helps remove any contaminants from your water by catching them in the sand filter tank.
- Waste Setting – this is used to remove water from your pool by bypassing the sand filter. This is very useful when opening your pool or anytime the water becomes very dirty – you can vacuum the water/debris straight out of your pool without contaminating your sand filter.
- Backwash Setting – this is the setting used to backwash your sand filter. This cleans out anything the sand has trapped while filtering your pool water and relieves built up pressure in your sand filter tank.
- Rinse Setting – you will use the Rinse setting after you backwash your filter in order to clean out the multiport valve and reset the sand in your filter.
- Closed Setting – this completely turns the multiport valve off, not allowing any water flow to your sand filter.
- Winterize Setting – this is for use during the off season when the pool is not in use. In our area, we do not recommend using this setting.
- Recirculate Setting – this bypasses the sand filter and pushes the water back into the pool without filtering it.
Pool Leak
Does it seem like you are constantly having to add water to your pool? Do you suspect you have a leak? Your pool will naturally lose water from evaporation, splash-out, and backwash wastewater. You will also gain water from rainfall. But the general rule of thumb is that if you're routinely adding more than two inches of water to your pool per week, you probably have a leak worth spending some time, and possibly money, to repair. Not sure how much water you're losing? Use tape or a pencil to mark water levels.
Pools are meant to be watertight. But sealants deteriorate over time, while other parts of your pool shift and settle, or just plain wear out. Pools can leak through fittings, accessories, plumbing, or equipment. It is important to repair leaks, not only to save water, heat, and chemicals, but also to prevent undermining pool structural components and washing away fill dirt that supports the pool walls and pool deck as well as prevent wrinkles in your liner. So how do you find a leak in your pool?
Detecting a pool leak while the pump is running may indicate a pressure-side return leak. With the filter pump on, the plumbing on the pressure side (after the pump) is under pressure. This can open up small drips into spraying gushers. Check the waste or backwash line for water consistently running. One inch of your pool water can equal 500 gallons of water loss! Check for soft or wet spots in the yard, on the side where the plumbing returns water to the pool.
IS THE POOL LEAKING ONLY WITH THE EQUIPMENT OFF?
Pool leaks that pop up when your pump stops running usually indicate a suction-side leak, involving the pipes that bring water from the pool to your pump. With the filter pump on, the plumbing on the suction side is under vacuum. Air can be drawn in through otherwise leaking voids. You may notice air in the pump basket, air bubbling out of the return lines, or air repeatedly building up inside the filter tank.
ARE THERE LEAKS AT THE EQUIPMENT PAD?
Look closely at the filter, pump, heater, and valves. Check the ground for moisture. Turn the pump on and off, looking closely for spraying water when the pump is turned off. A small drip or two will not be the source of the primary leak. If loss of water level is noticeable in the pool, it won’t be a drip, but a trickle at least.
POOL LEAK DETECTION IN A VINYL LINER POOL
Dealing with a leak in your vinyl liner pool? If so, there are special considerations. Take a walk outside the pool and between the pool and the equipment pad. Check for wet soil and eroded areas. Look for sinkholes where sand under the liner may have washed away. Look for tears or separations around all fittings: skimmer, returns, cleaner line, steps, pool lights, main drain, etc. Pay close attention to steps and corners, where the liner may be stretched more than normal. If an animal had the misfortune to fall into your pool, you may notice claw marks (tears) just below the water line. Spending time underwater with a mask may be required to find a small leak in a vinyl liner. When pool liners become old, they may develop pinhole leaks easily. There can always be more than one leak. But most of the time, it’s a gash in the liner, about 1” long, which can be easily repaired with a vinyl patch kit.
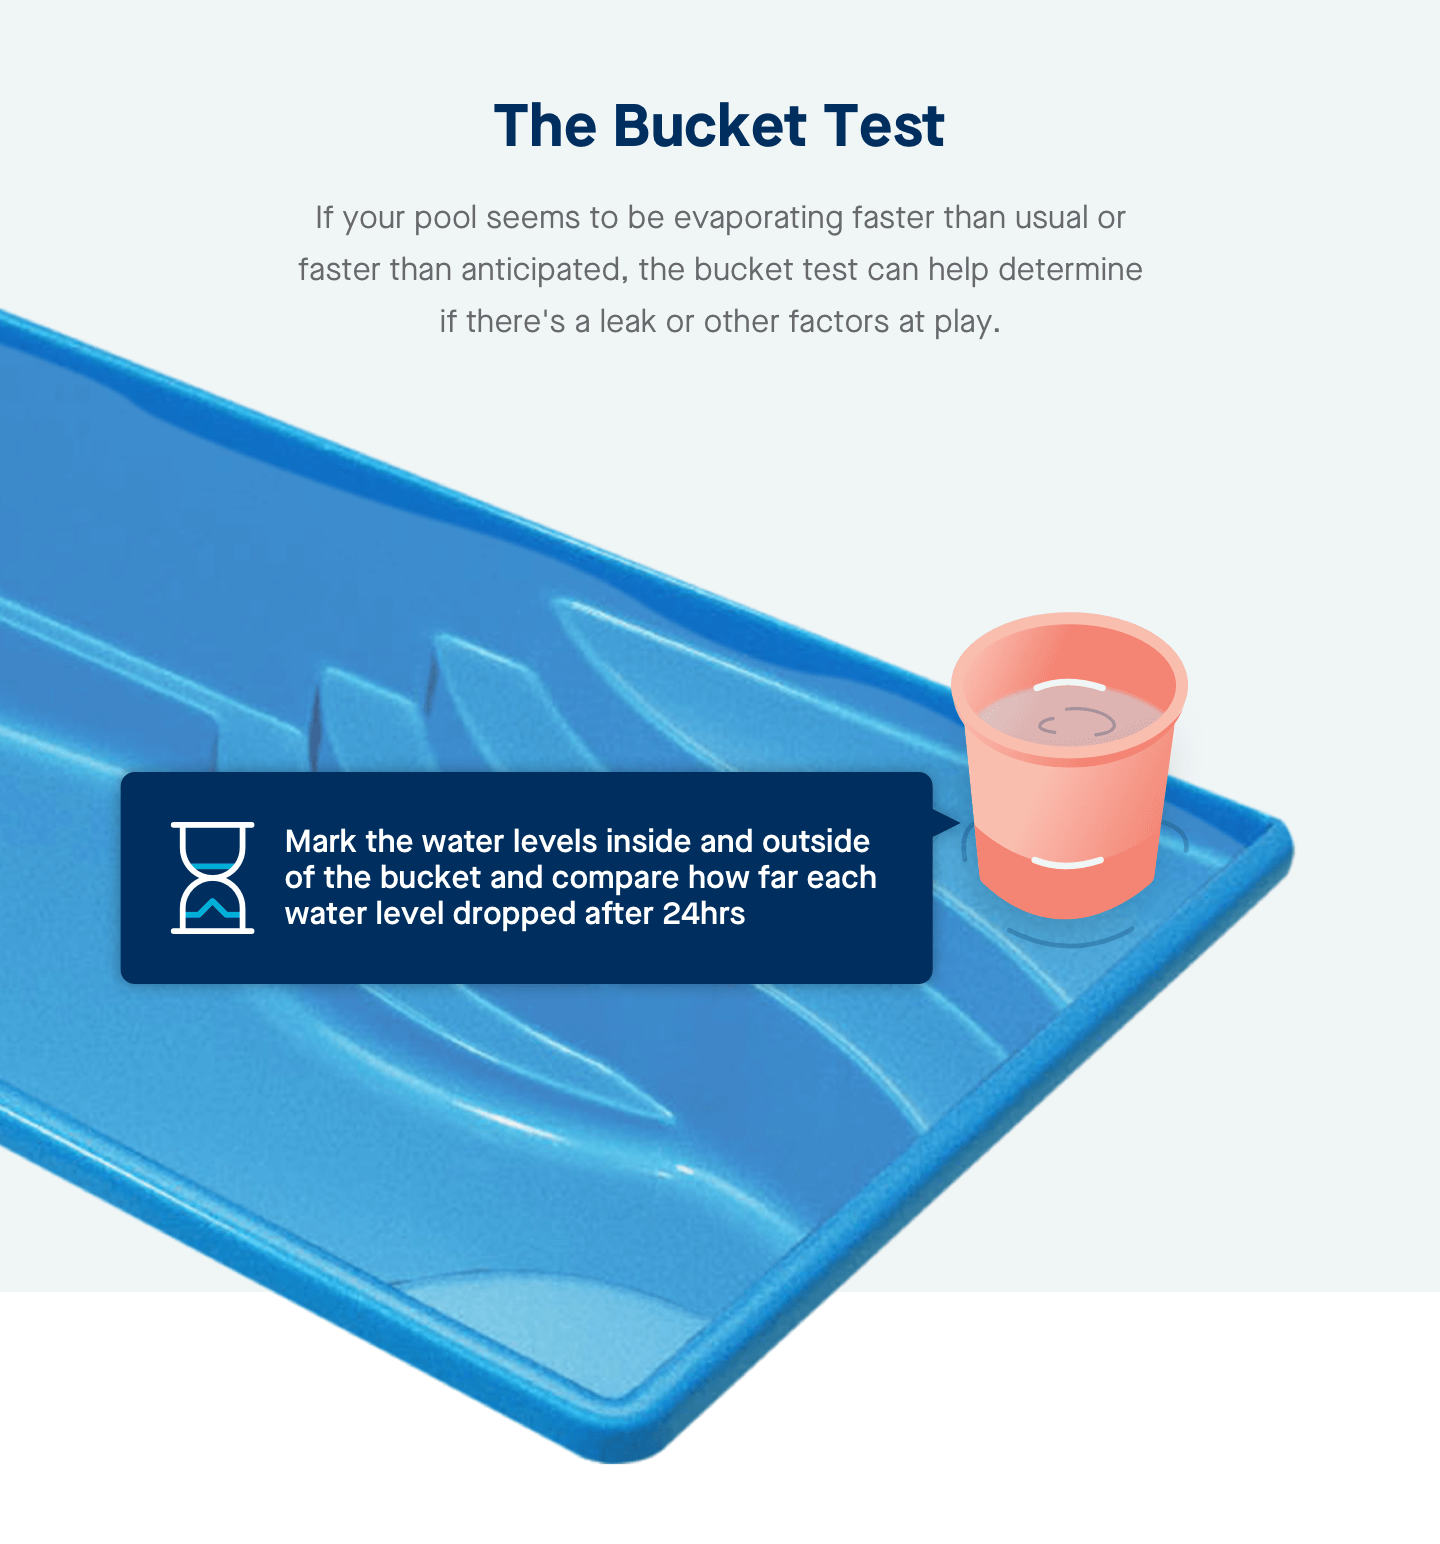
USING THE BUCKET TEST FOR POOL LEAK DETECTION
You can do the “bucket test” on your pool to measure evaporation and determine if a leak is present in your pool. Place a bucket on the step of your pool, making sure the water level is the same both inside and outside the bucket. Mark the water level in the bucket and the pool water level on the outside. Wait 24–48 hours, then check the loss of both. If the pool loses more water than the bucket, then you have a leak. If both levels remain about equal, you're likely only dealing with evaporation.
We sell both vinyl liner kits and replacement above ground and inground liners. Call 251-457-7727 for more information.
Evaporation
What is Evaporation? And How is it Calculated?
Evaporation occurs when heat causes water to turn into vapor or steam, like when you’re boiling water on the stovetop. However, evaporation isn’t always a dramatic or even visible process — nor are high temperatures needed to kickstart the process. Evaporation can also occur as a result of ambient heat, like the hot sun outdoors baking the surface of your pool. Evaporation can be calculated using mathematical equations or evaporation rate maps; but an easier method is to use a tape measure, or get in touch with a professional who can make a precise assessment.
How Much Water Actually Evaporates From a Pool?
What is the normal evaporation in a swimming pool? Generally speaking, pools lose approximately 1/4” of water per day on average, though this can vary due to factors like wind, temperature, humidity and of course, the pool’s total surface area. The hotter the temperature and the more exposure to sunlight your pool receives, the faster the rate of evaporation will be.
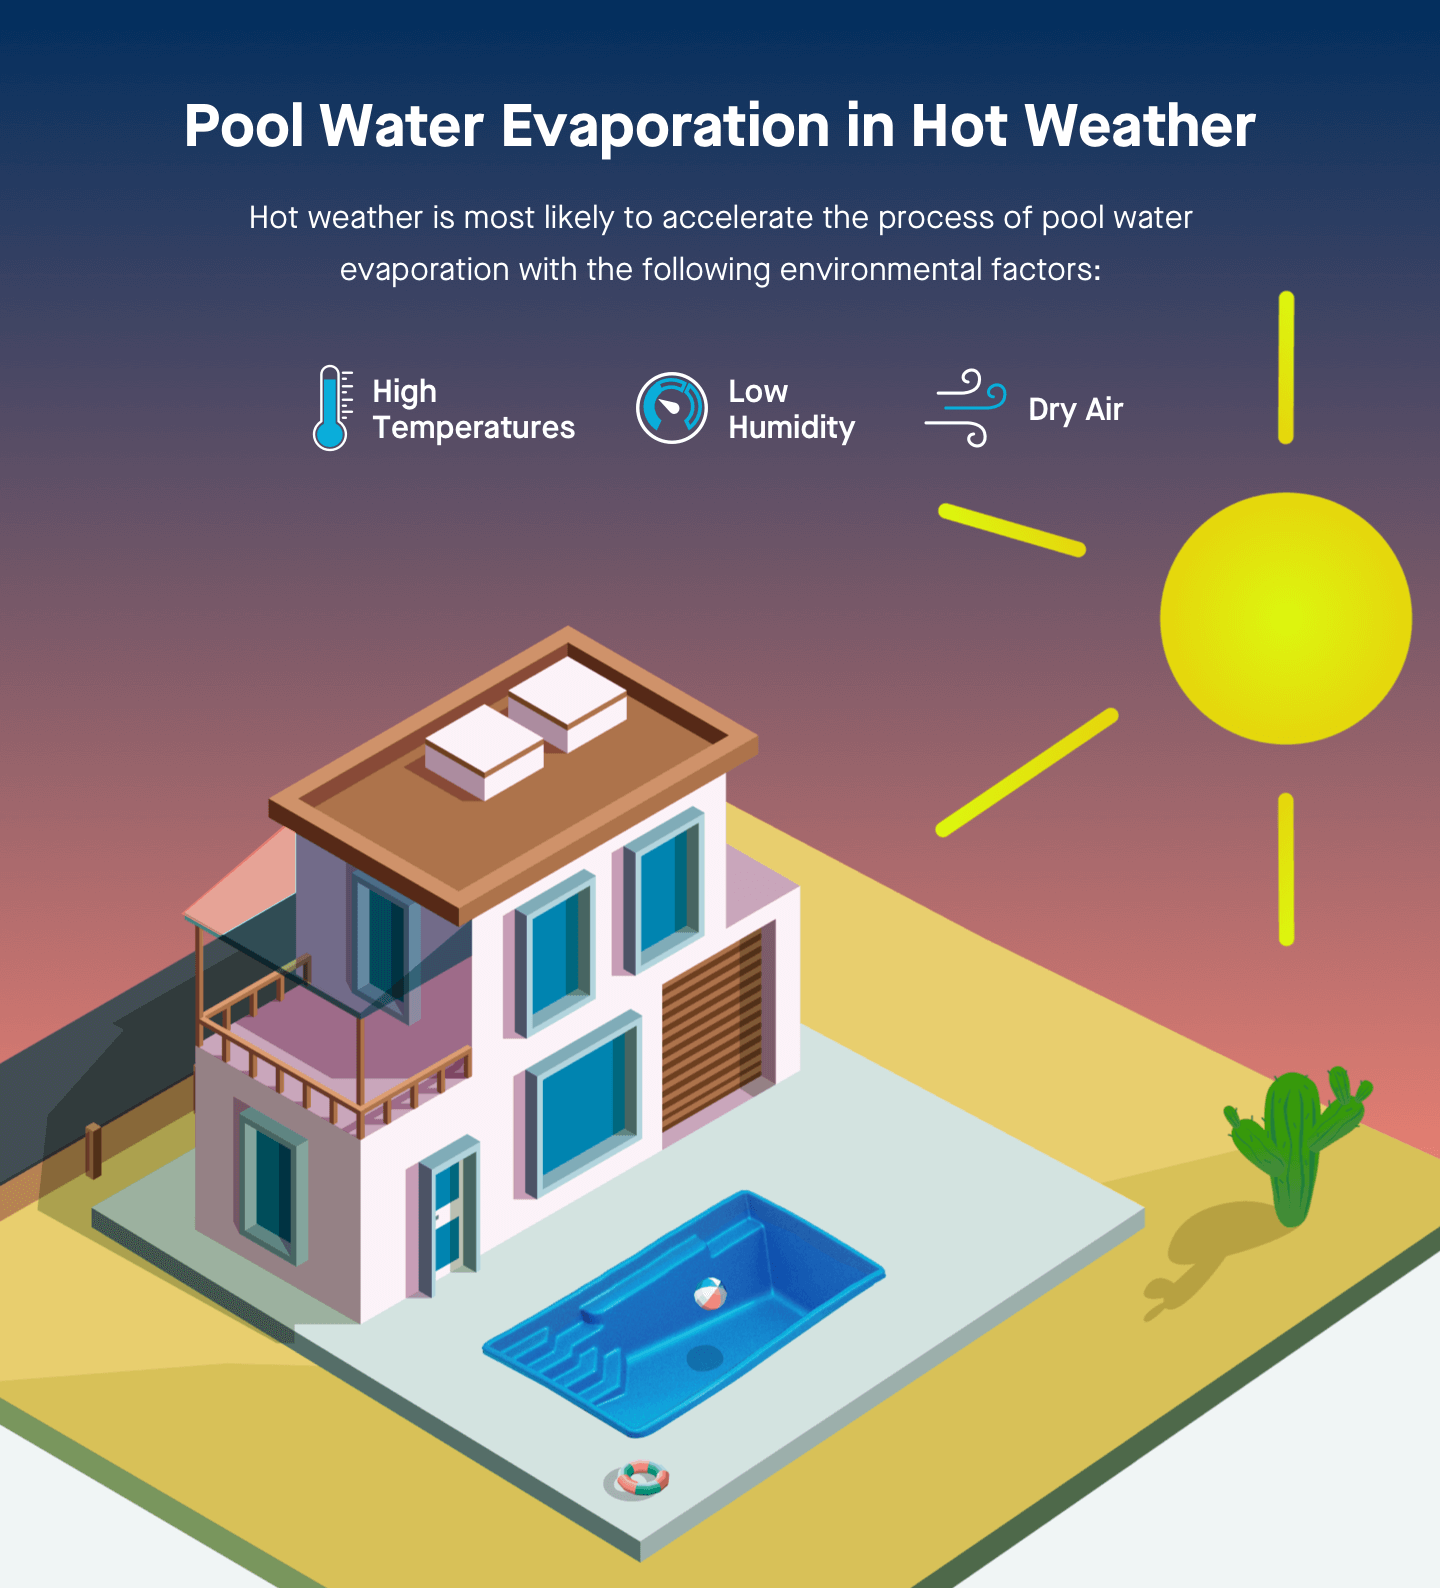
Pool Water Evaporation in Hot Weather
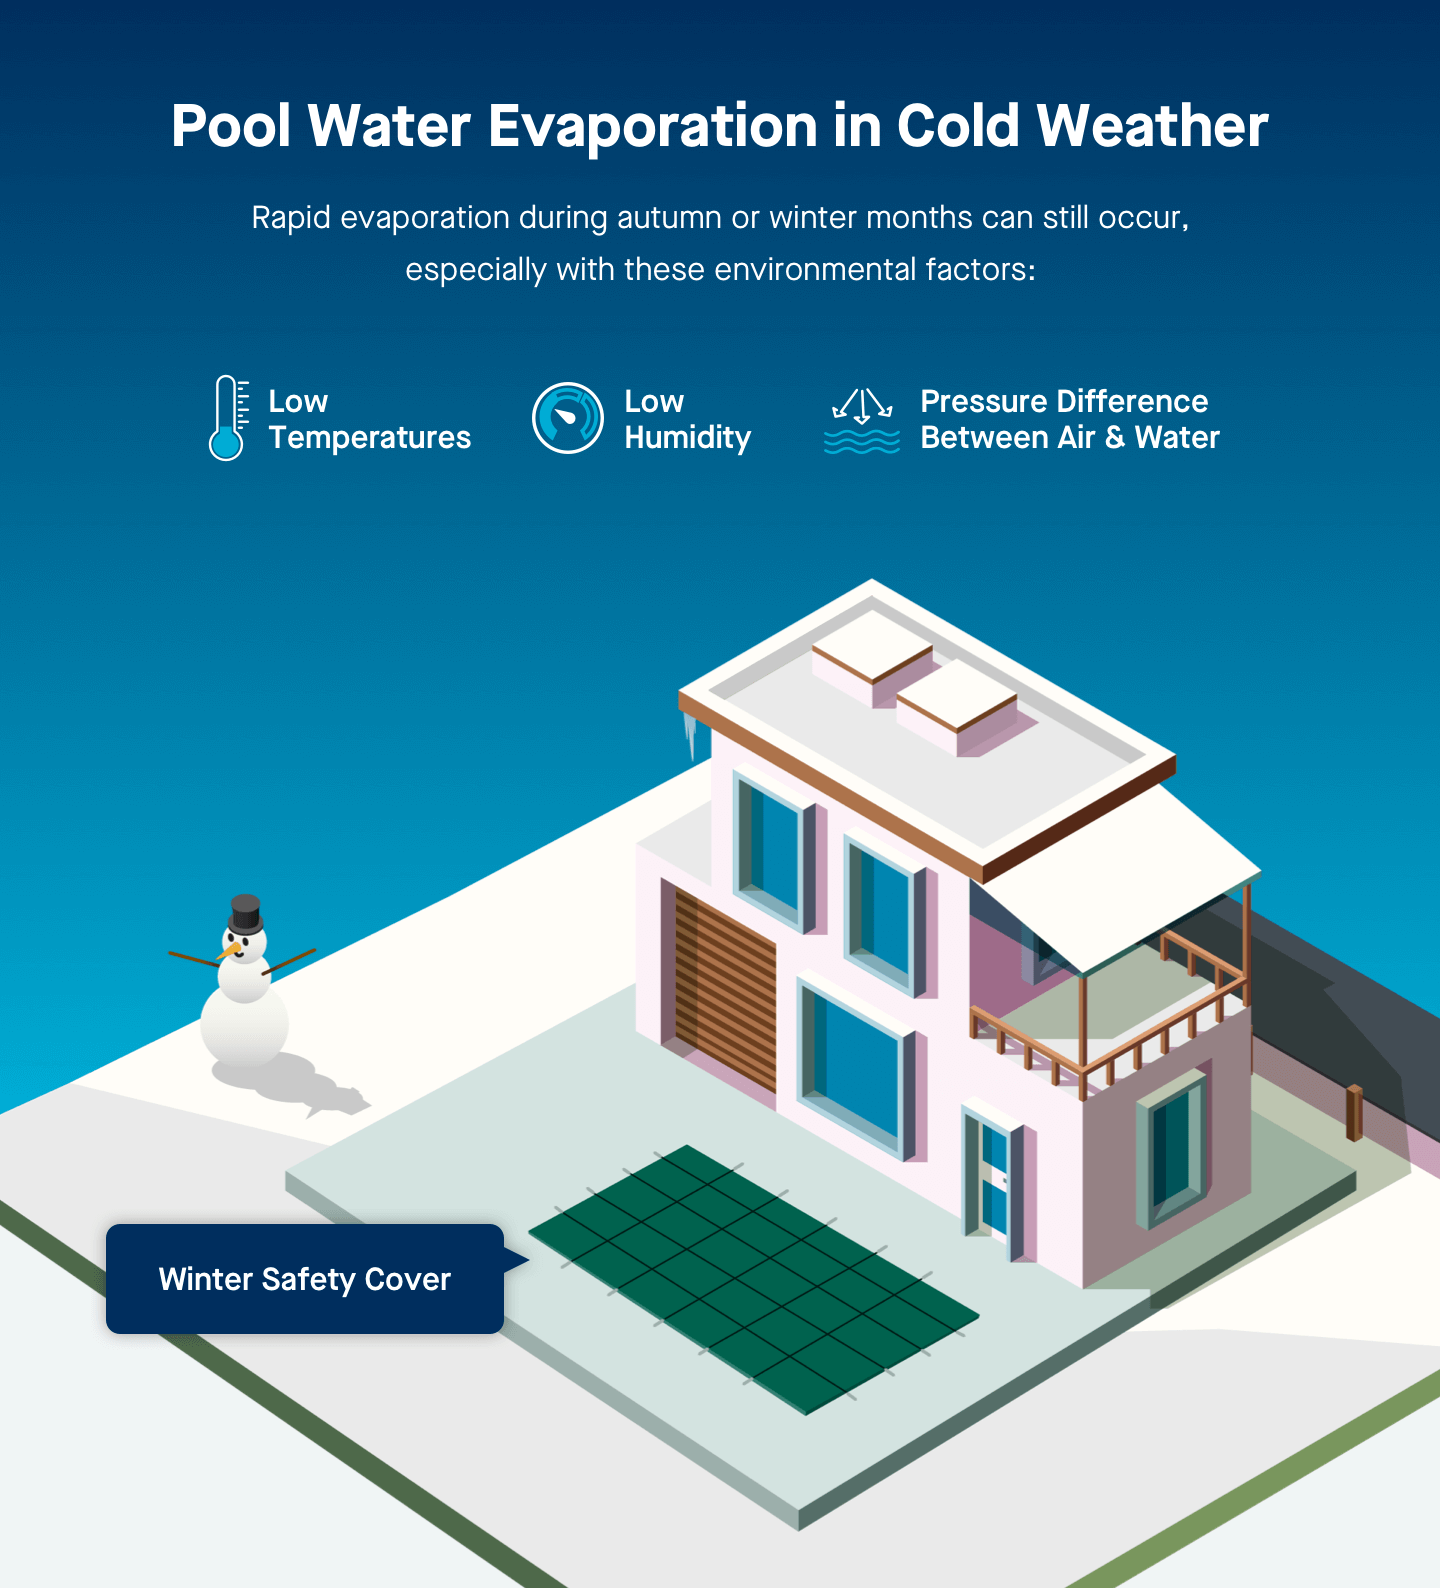
Does pool water evaporate faster in hot weather? Put simply: yes. However, the specific rate of evaporation also depends on other environmental factors, like the amount of moisture that is present in the air. Hot weather is most likely to accelerate the process of pool water evaporation when high temperatures are also combined with dry air and low humidity.
Frequently Asked Questions
After adding shock or chlorine, we recommend waiting 6 hours or when the chlorine level drops below 3 ppm before swimming. Its a great idea to shock after swimming or in late evening. This also prevents sunlight dissipation and increases the effectiveness of the shock treatment.
There are several possible causes of cloudy, smoky, or hazy pool water. Here are some possible causes and solutions below.
- Poor circulation or filtration: Backwash and clean the pool filter. Clean the skimmer baskets and pump strainer basket. The filter may need to be chemically cleaned.
- Improper water balance: Test the pH, total alkalinity, and calcium hardness, and make the necessary adjustments.
- High total dissolved solids (TDS) and/or calcium hardness: If one or both are high, drain off 1/3 to 1/2 of your pool water and replace it with fresh water that is low in hardness. Adjust the chemical balance.
- Excess organic waste: Shock with one pound of shock for every 10,000 gallons of pool water.
- High total alkalinity: Add a pH reducer.
- Low sanitizer level: Add chlorine to bring sanitizer into it proper range.
Keeping your swimming pool clean, safe and in good condition is something that you should always prioritize if you want to enjoy dips in your swimming pool for a long time. Various tools can help you with the maintenance of your swimming pool. One such tool is the pool pump which helps in filtering dirt and debris and produces chlorine.
Every pool should circulate all of its water at least once a day. It is recommended to run your pool pump for 1 hour for every 10 degrees of air temperature. During the winter months you can run your system between 6-8 hours a day, but as the temperatures increase during the spring you will need 8-10 hours of circulation. In the peak summer months of 90-110 degrees as we have here along the coast, we recommend 12+ hours a day.
All hours, do not have to be done at the same time. You can choose to run your pool 3-4 hours in the morning and the rest later in the afternoon. The most important thing is that your pool water stay clean. We recommend using an automatic pool timer to help!
